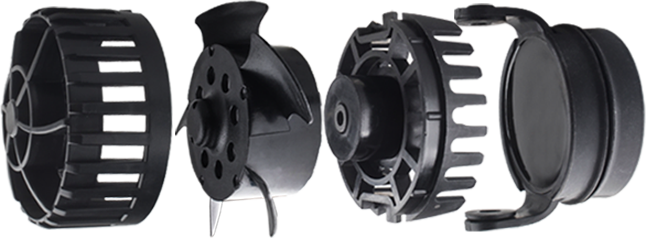
Cleaning Supplies, Problem Solving, Pump Maintenance, pumps
Pump Cleaning and Troubleshooting
Note: Before you file a warranty claim, review this guide to determine if there is a simple fix to your pump problem, such as a pump cleaning or troubleshooting what the problem could be. If the pump trips a certified GFCI outlet, discontinue the use of the pump. The pump must be replaced. The following guide uses SICCE pumps, but the instructions apply to most brands.
1. Opening and Examining the Pump
• Remove the Cover for the Pump (PSK Style).
• Remove the holding screw from the pump if one is present.
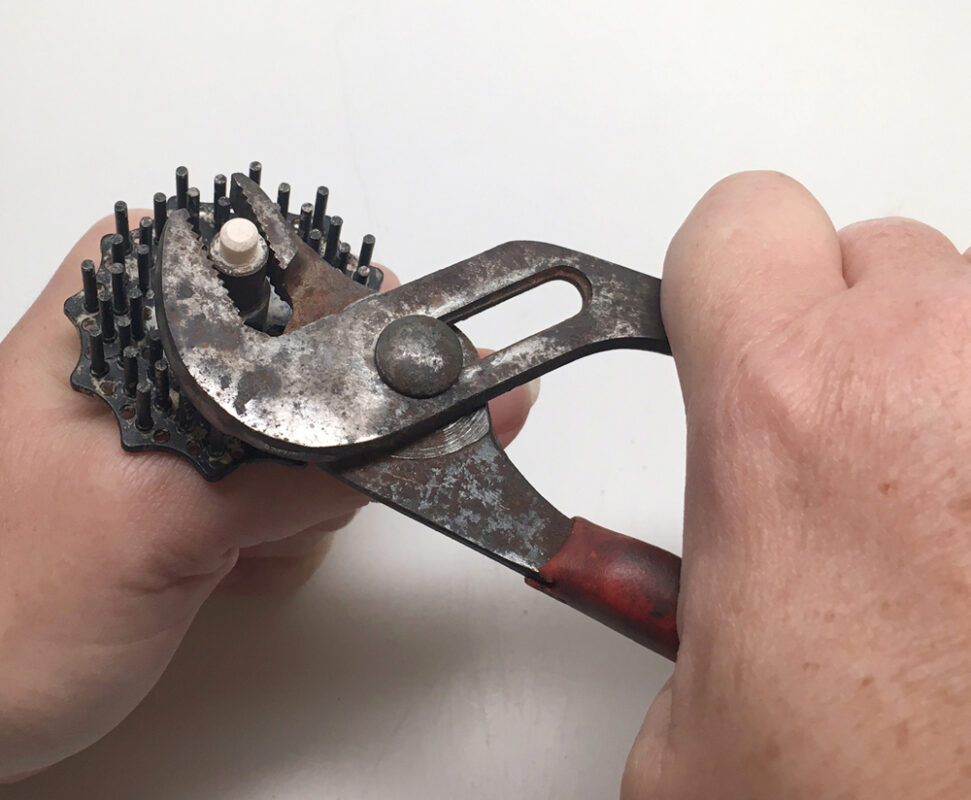
• Use the back rubber part of a tool, like pliers, to remove the pump’s cover.
• This prevents damage. Do not use pliers or channel locks. There are tabs you can turn with the leverage from the handle. (Image below)
• On SK versions and powerheads, remove the pump’s front locking rings or covers without tools.
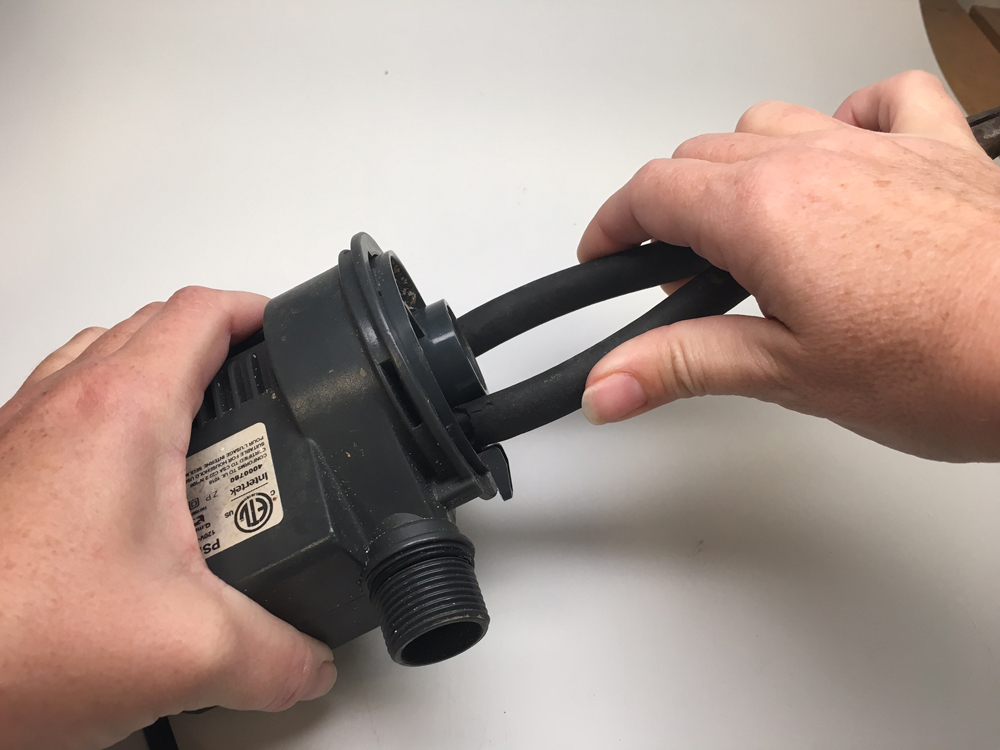
Voyager rotor test and cleaning
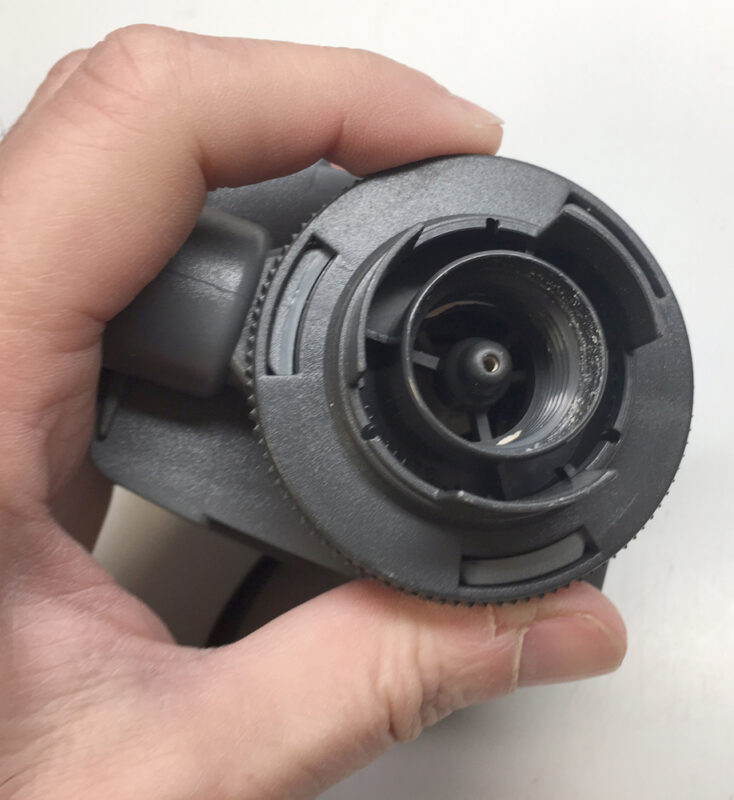
On Syncra HF, use a screwdriver to remove the front.
Also see:
2. Opening and Examining the Pump
Remove the rotor and do a motor block check. See the videos above.
Do you hear any noise or hum when the pump is plugged in?
With the rotor removed and the pump out of the water, plug the pump in. While holding the pump, bring the rotor/impeller close to the left or right side of the pump. Hold the rotor firmly, as strong magnets can cause injury. If you feel vibration of any kind, the motor block is good, and the issue is either a rotor or bearing.
If the motor block test passes, continue.
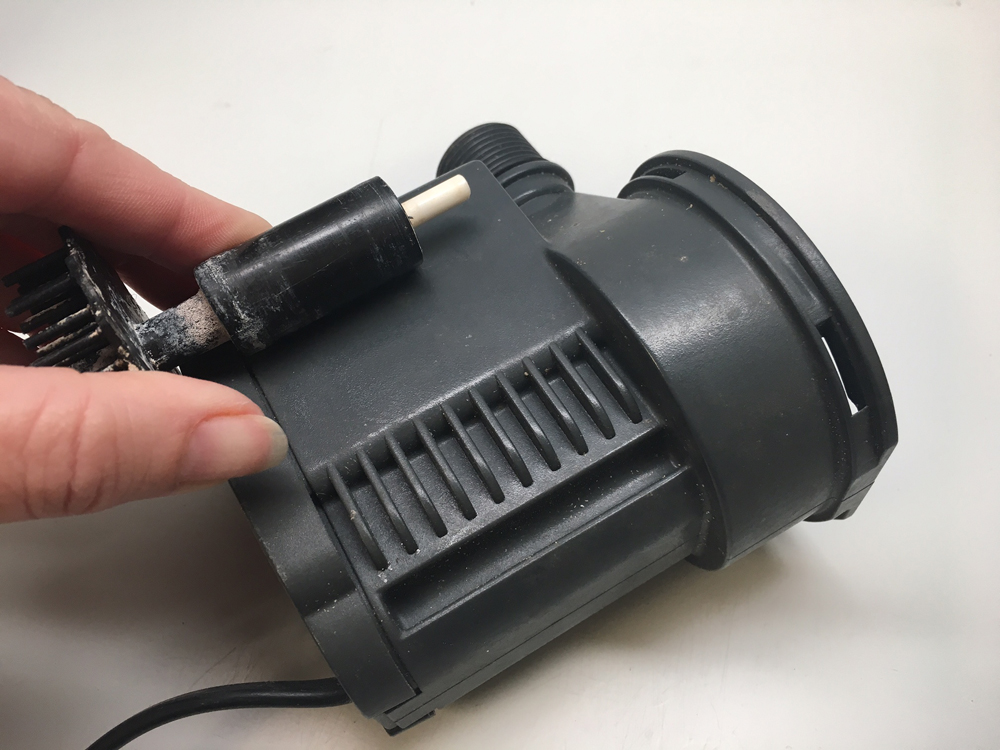
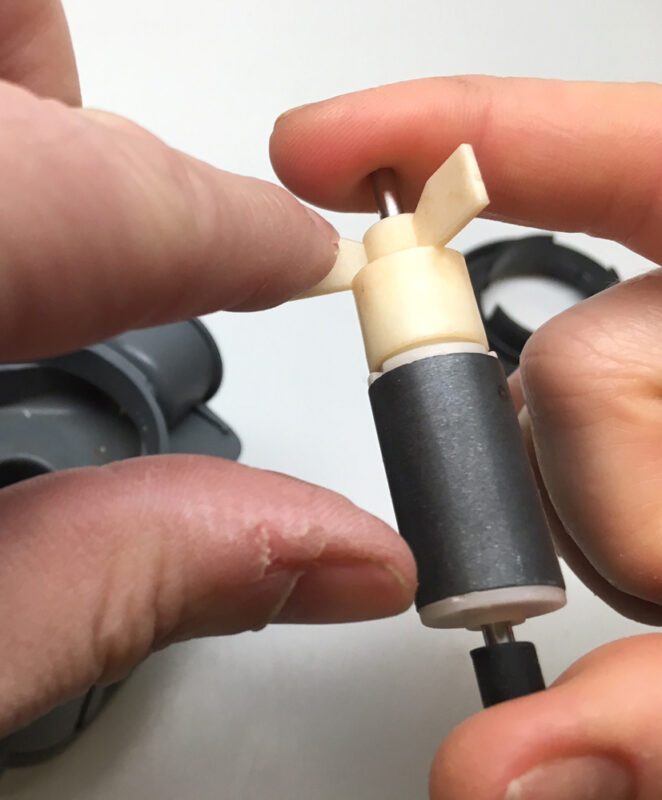
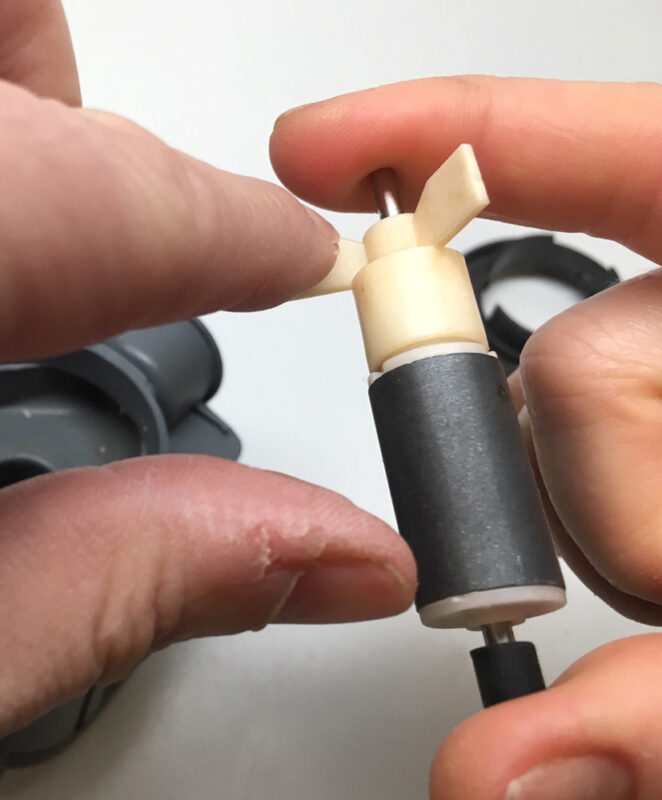
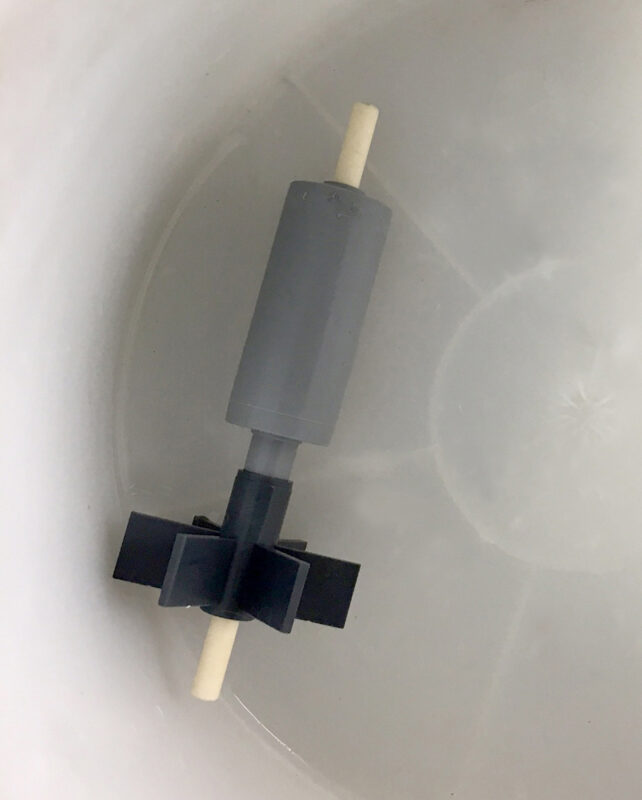
3. Inspect the rotor
Scars or scratches on impellers/rotors are expected over time and are caused by debris going through the pump. If not cleaned, they will eventually need to be replaced. Impellers/rotors are not a worry unless the pump is not functioning correctly.
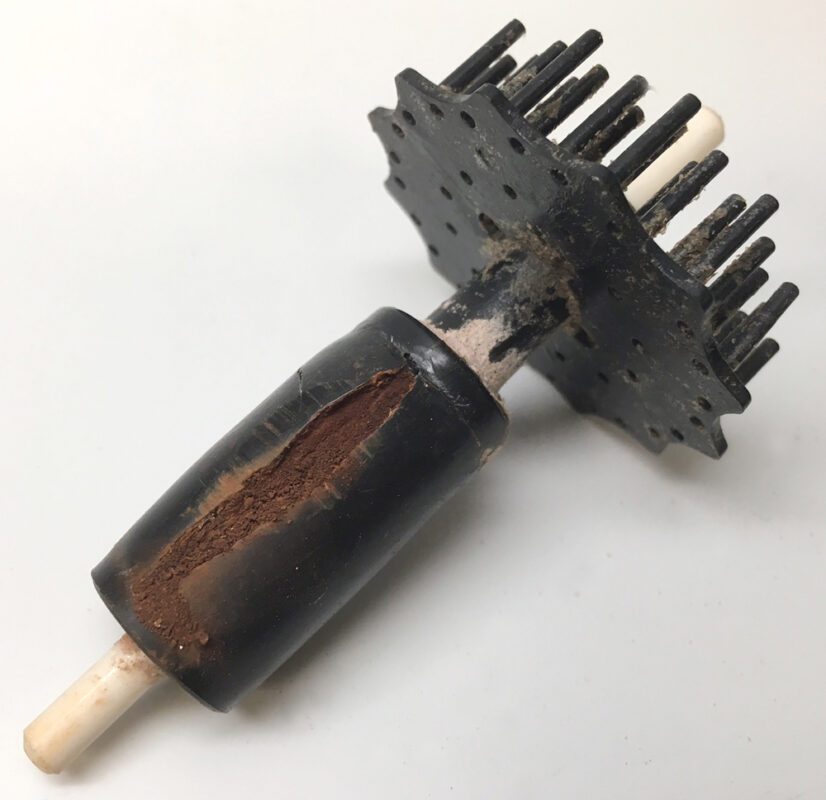
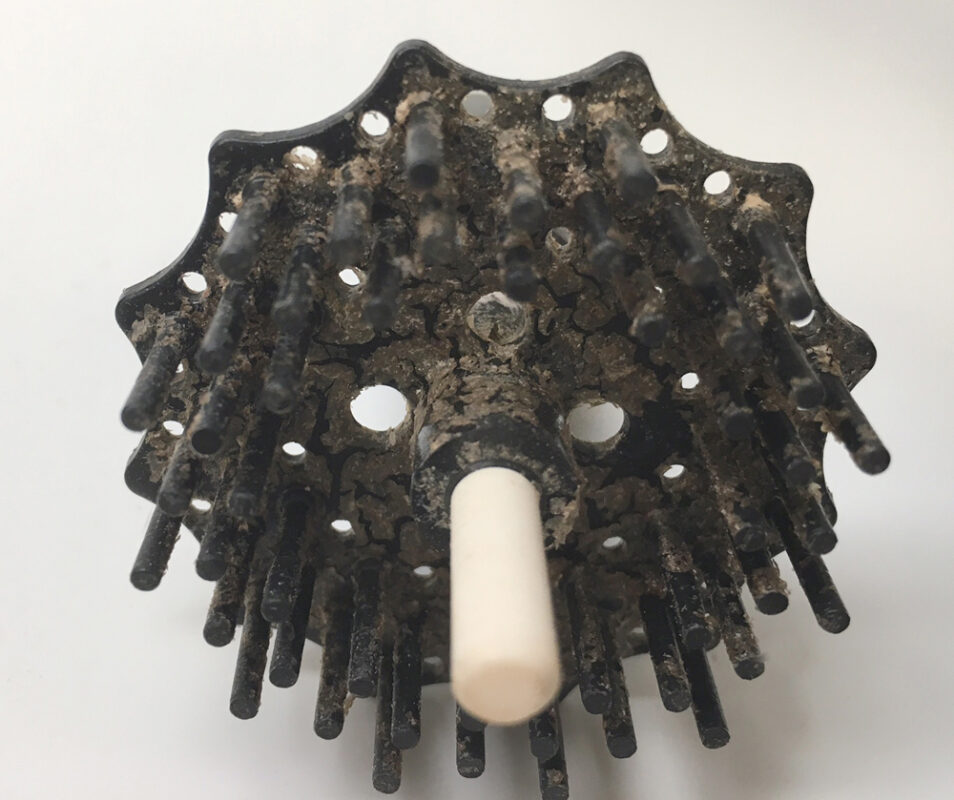
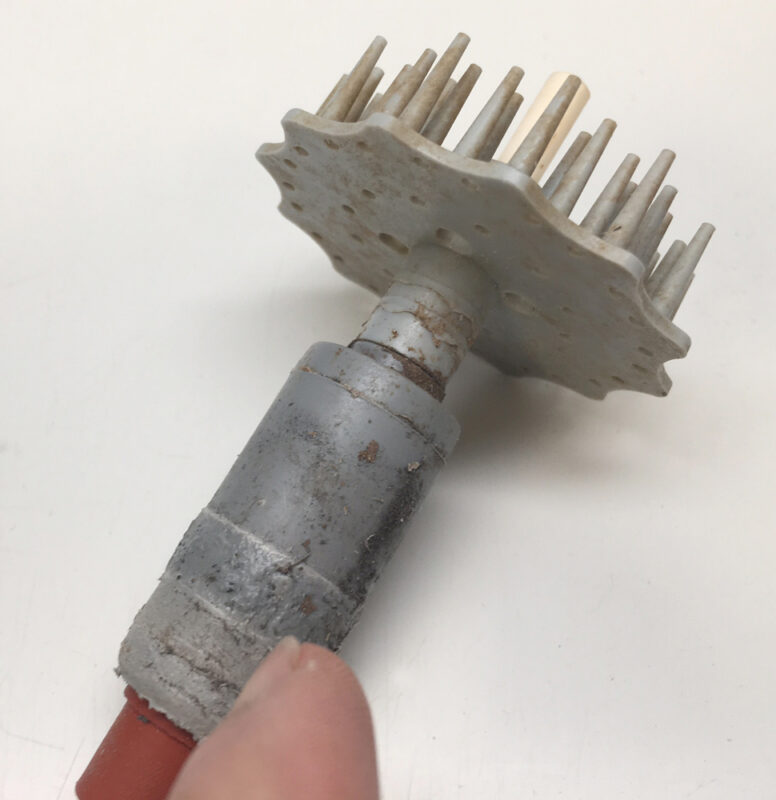
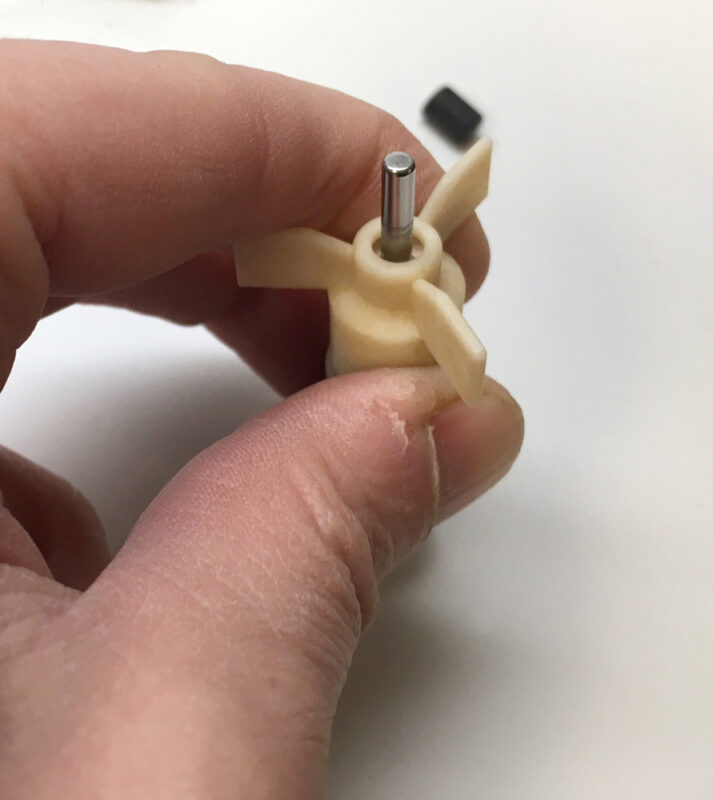
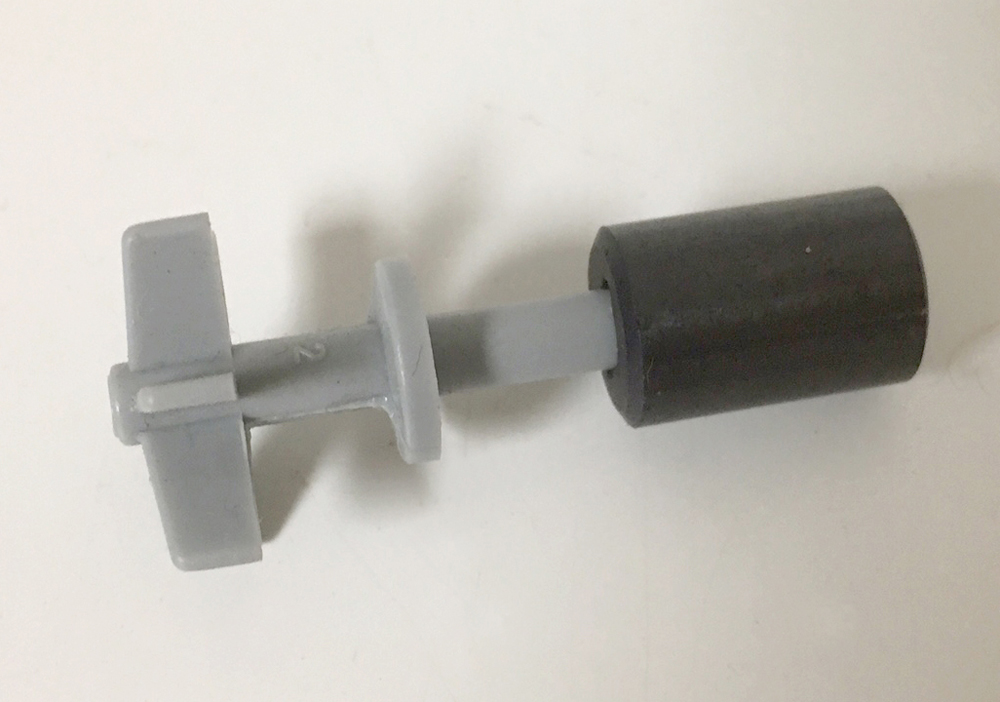
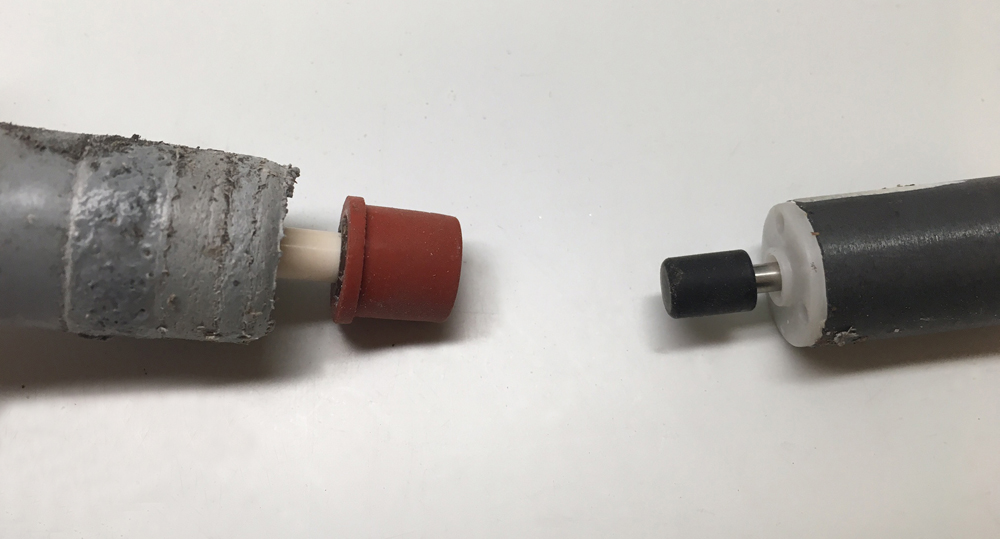
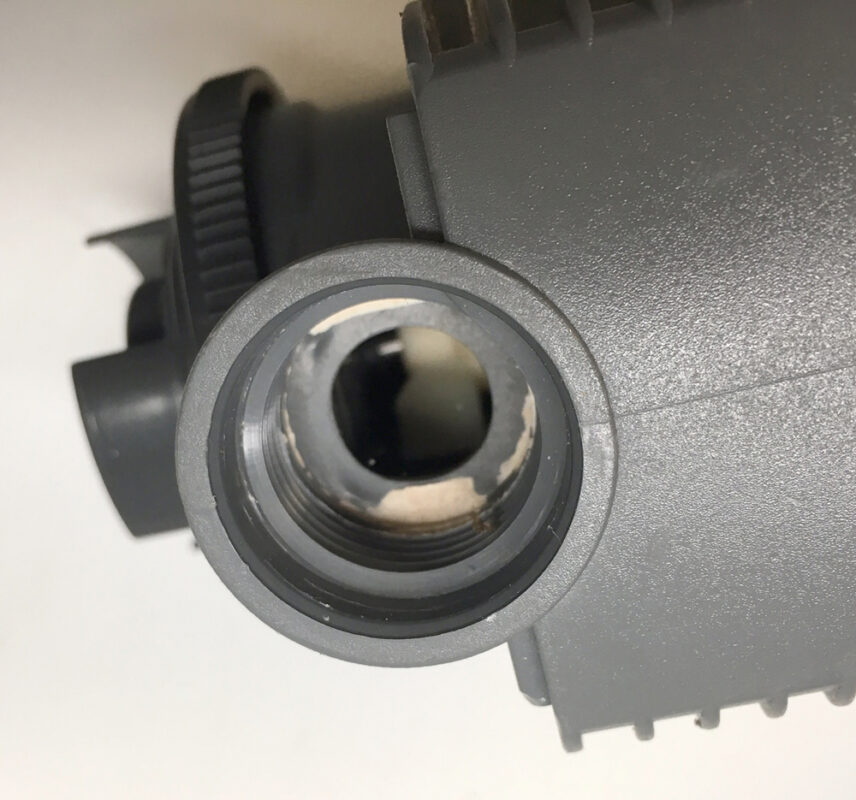
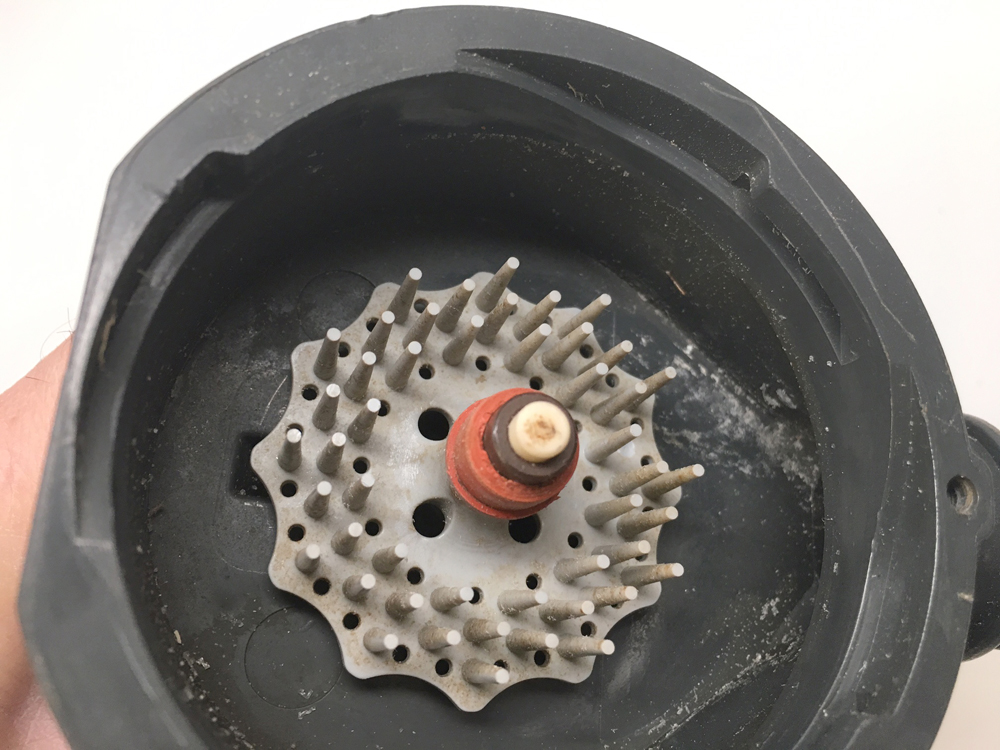
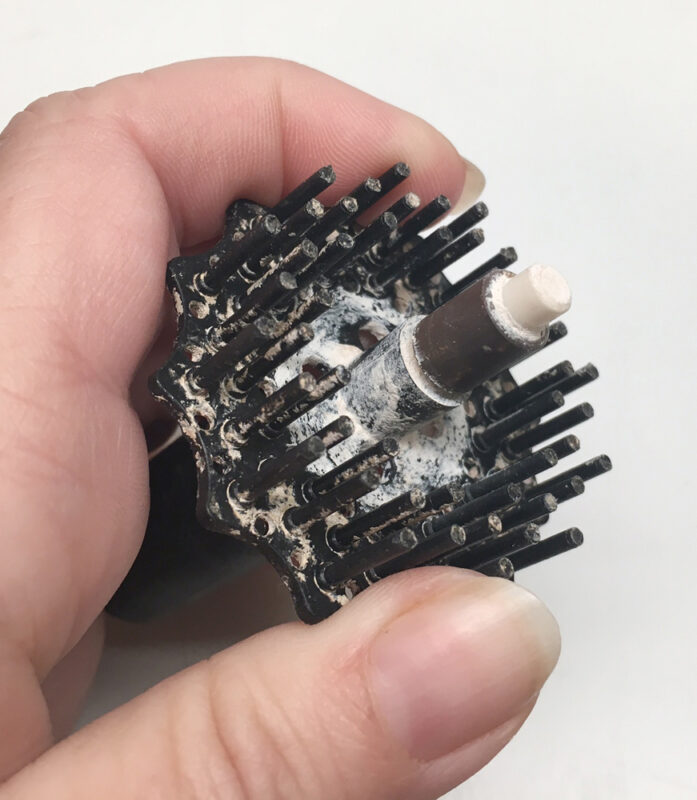
The two examples below show calcium build-up in the rotor and the pump. Both require cleaning to function correctly.
4. Cleaning
Soak impellers, bearings, and pumps in household vinegar. Pump cleaning is essential in caring for your pump and preventing future problems. Check them often for progress in removing calcifications and debris. Doing this is a necessary step in the pump cleaning process. If more robust calcium removal is needed, use CLR or, better yet, CitriClean by aquaLife, which is safer. Take extra care to remove CLR cleaning fluid when using it for additional pump cleaning to ensure none of it gets back to the tank. Do not soak pump bodies overnight, as this can affect the resin protecting the inside of the pump.
Read More: Platinum Series DC Pumps are Here!


5. Inspect the inside rotor chamber on the pump
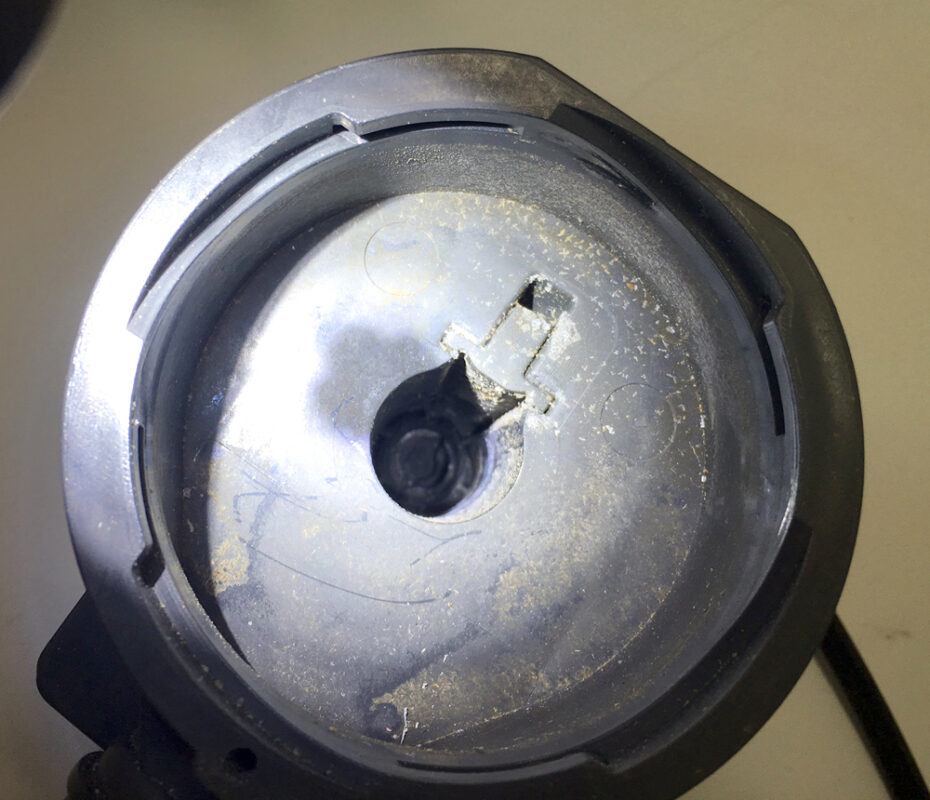
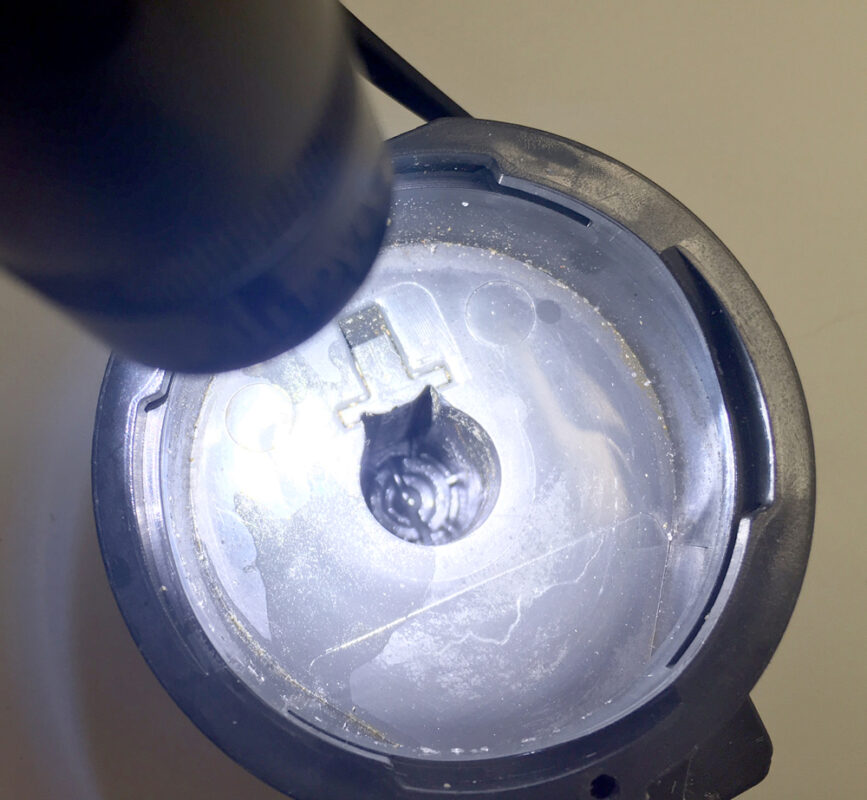
The boot holders should be round and not worn larger or look melted. The upper left image has a worn boot holder cavity that will cause rotor movement and noise and impede proper function. The upper right image illustrates a sound boot holder.
Once the calcium deposits and debris have been removed, inspect the rotor again for cracks that could expose metal or allow water to reach the metal coils of the pump. This is a clear sign of a permanently damaged pump. Scratching is normal from debris going through the pump. If boot holders are sound and the pump shows no faults or cracks that could reach the motor coils, continue.
6. Reassemble the pump
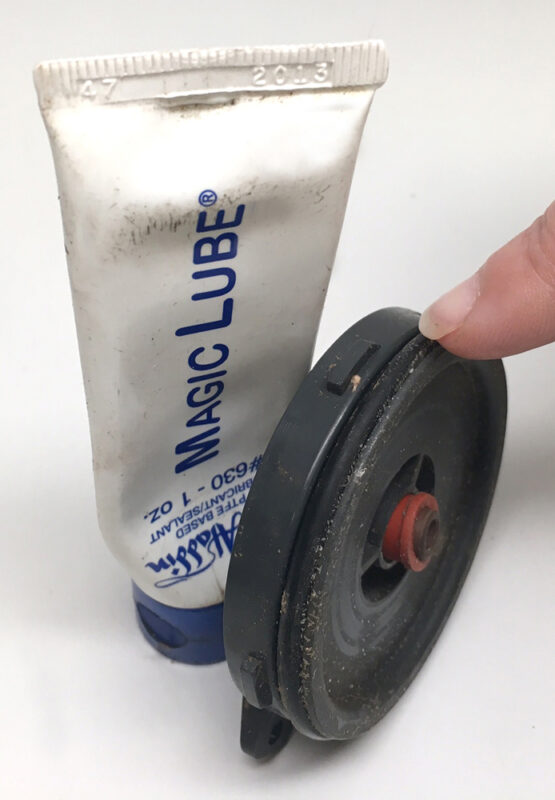
Lubricate the o-rings with Magic Lube or other silicone based lubricant to ensure a good seal and easy removal at the next cleaning. Test the pump.
• Pump Startup Issues
If the pump does not run properly:
• Inspect the rotor. Do you notice any swelling or damage to it?
• Is the pump clean? Have you removed the rotor and soaked it and the pump in vinegar or CLR and rinsed them well? Pump cleaning plays a large role in proper functioning. See above.
• Make sure the rotor bearings are seated correctly; if they are in a bind they will prevent startup.
• Make sure the rubber holding the bearings on the rotor are in good shape.
• Make sure the rotor bearings are clean and free of calcification and debris.
Pump Noise On Larger Pumps
Larger pumps like the Syncra HF are quiet compared to other AC pumps of the same size (2400 gph and larger). They are not quiet compared to smaller pumps, like the Syncra Silent, Syncra Pro models, or other manufacturers’ smaller pumps. The larger the pump, the more turbulence, and noise.
If the pump is noisy:
• How is the pump being used and in what application? Fresh, saltwater, or pond?
• How old is it?
• Is it being used external or internal?
• Is the noise different from when it was hooked up the first time?
• Is the pump hard plumbed or hooked up with flexible tubing?
• Have you padded the base with either suction cups or something to prevent it from sitting directly against something hard?
• Did you clean the rotor?
• Note: all ceramic bearings have a break-in period and they become quieter of the first few weeks of use.
Here are some points to consider:
• Ceramic bearings have break in periods and get quieter over time.
• Usually head pressure alone is enough to restrict a pump to its quietest point preventing cavitation.
• Slightly valving back the outlet could help any pump with noise.
• Debris build up and calcification on the rotor, bearings, or internal chamber can cause an increase noise and or vibration.
• Never use the plastic base sent with the Syncra HF for aquariums. It is for stability in ponds. Use rubber feet or place the pump on neoprene, foam, silicone, or a rubber base.
• Always check the inlet grill for vibration. These are used to prevent damage to the pump inlet for ponds or dirty water in central systems or larger aquaculture applications. In normal aquariums, use plumbing fittings (90 el bow) with teflon tape to allow the pump to work better in lower water levels of sumps / filters. This will not cause any vibration.
• Connecting pumps with all rigid plumbing is noisier than using a flexible transition from the pump to a rigid PVC assembly.
• Vibration can be transferred through anything a pump touches or any rigid tubing connected to it. Keep them from resting against anything with plastic touching plastic.
In situations where quiet is essential, such as bedrooms, two smaller pumps are quieter than one large pump. They will out-perform the single pump. (Example two 1” outlet pumps can be either plumbed feeding into one larger 1-1/2” manifold. Alternatively, two returns can each have their own smaller pump.) Using two pumps provides redundancy and system security in the event one pump was down for cleaning or repair.
Read More: Slim Wave and Blue Pump Updates
Questions? Please contact our aquarium experts for more information!

